Saturday, July 14, 2012
Wednesday, July 4, 2012
American Clay in the Little Burro
We decided to use American Clay on
the truck. We put some American Clay primer sand in
some of our zero VOC paint primer to prime the wall. We used Loma with mud
glue, no pigment, for both layers. Used one of our special Japanese pointed
flexible polycarbonate trowels. I compressed the wall at the end with a tile
sponge (big rectangular sponge).
Overall it was really fun.
Just using a natural clay product was a really enjoyable
experience, since I felt as if I was sharing in the experience of many
people around the world over the centuries by using such a product. I
probably put too much on since it's just supposed to be a credit card thickness
for both layers, but I was trying to cover up some screw heads on the wall.
American Clay is also nice in that it's forgiving and I could play with it for
a while while it dried to get the texture I wanted, and then I could go back
with the spray bottle, wet it, and work it again to make it look like what I
wanted. It is definitely easy for a non-artist like myself to create a really
beautiful clay texture on the wall. I found myself playing with the texture
longer than I needed to since the artist in me emerged as I wanted to
experiment and explore what textures looked good. I ended with a mostly smooth,
even texture with a bit of variation. I really like it.
This has definitely made me want to
experiment more and explore putting it on my own walls at home. I think I will
put it on a test board, let it dry with a certain texture (writing down how I
achieved that texture), take a picture, then rework it to create a different
texture until I've created a few textures and can decide on one for my wall. I
would also love to experiment with pigment and colour, and then there's also
lime washing to brighten the colours and a penetrating sealer to try out if I'm
putting it near splash areas. If I can do it on my first try (and I'm sure
I could do it better/quicker if I practiced) and it still looks good, it's
a keeper!
Steven
Sunday, June 24, 2012
Little Burro Progress
We have been busy working on our Little Burro project. We
have built an L shaped bench out of Sunflower Seed Board. We finished it with
Vermont Natural Coatings Furniture Finish in gloss. It is looking great. I am
going out today to see if I can find some fun vintage drapes to use as
upholstery fabric for the seat. We are now priming the walls and the back door
with AFM’s Transitional Primer. We will be painting one wall with Yolo’s Thrive
02 which is in the Yolo 2012 Summer pallet. We will then be using Yolo’s
Imagine 04 for the back door and one of the side panels. We will also be doing
a panel of Stucco Italiano’s plaster and one in American Clay. We just got the
fantastic Agates that Interstyle made up for us. They are made from recycled
glass and are produced locally. They are beautiful we have chosen a citrus
green and an earthy grey mix. Next up we will be working on our cabinets and
countertops.
Wednesday, June 13, 2012
Installing Wood flooring in the Little Burro
The flooring is going in the little Burro. Diana and
Steven are having fun installing the floor. After reading all the instructions,
it is going well. The flooring is FSC-certified Oak from DuChateau. Windsor is the style. It
has been deep smoked, distresses, aged and has a hard wax oil finish. It is a
stunning floor. We love the character rich colour. It is a floating floor so we
have used a cork underlay and 6mm poly as a moisture barrier. We are gluing the
T&G together with Tightbond polyurethane. It is solvent free glue.
Our little truck is really talking shape. It’s so exciting.
Sunday, June 10, 2012
Little Burro Project Demo and walls
Our little burro project is well under way. We have gutted
the inside removing all the insulation plywood and bookshelf that was there to
start with.
We have put down a layer of poly as a moisture barrier on
the floor and covered that with cork underlay ready for our floating
FSC-certified floor. We are using Ultratouch insulation and then covering that
with Green-E board for the walls. It is coming along very nicely. We are excited
to get started on the finishes as they are the really fun parts.
Thursday, June 7, 2012
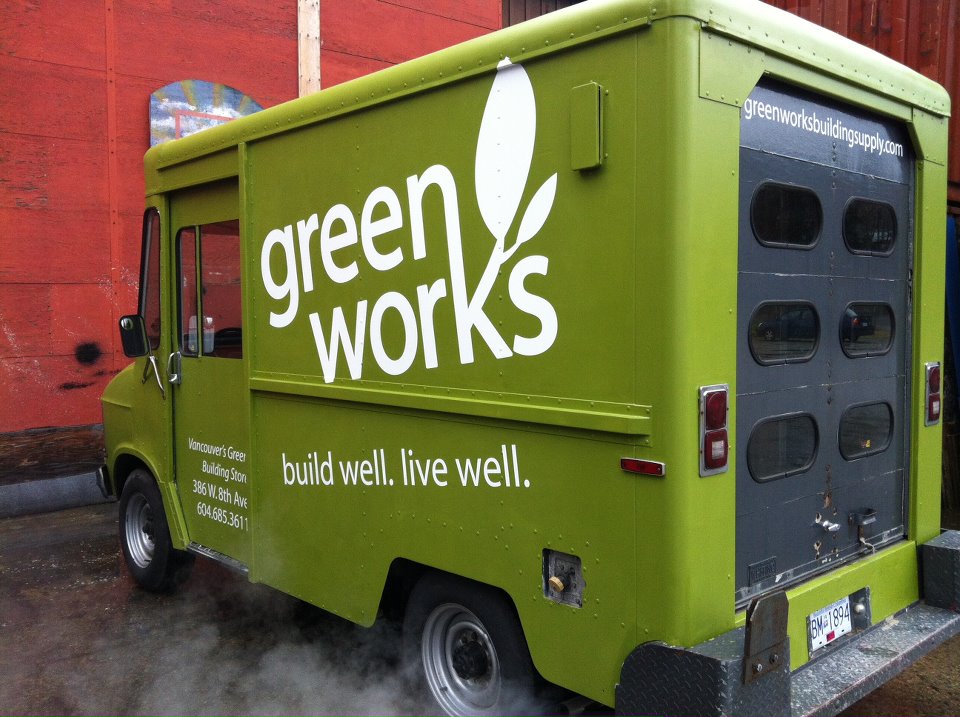
In January Greenwork bought a little Dodge propane truck
called the 'Little Burro". We painted it all up in Greenworks green. We
have been using it to pick things up or drop them off around town and parking
it in different places as a traveling billboard of sorts.
We kept seeing all these fantastic reno's of Airstreams
in Dwell and we even had a customer that purchased products to renovate their
own Airstream.
With this as inspiration we decided to renovate
the Little Burro using the great products we sell. We have big dreams like solar panels and a
green roof. But we are starting out by creating a little room. The plan will be
to take our truck to green events where people can get in and check out how all
our products look and feel. We also just think its fun and a great way for us
to get more experience using our products. We will be writing about the trials
and tribulations of our little reno here so check back and look for us around
townMonday, February 6, 2012
What is Polyurethane?
Since I happen to distribute a polyurethane product (called PolyWhey, made by Vermont Natural Coatings), I’ll do my best to explain “What is Polyurethane?”. This is a very broad question, but since polyurethane is pretty much in everything we own (odds are that you’re sitting on polyurethane right now and clicking with it too!), it’s worth knowing a bit about it.
Without getting too complex (after all, I’m not a chemist), polyurethane is a very versatile chemical compound which can have many different physical characteristics. A chemist can formulate his polyurethane to be flexible, hard, squishy, sticky or a combination of any of these and more. It can be made into a foam, a liquid or a solid. Examples of polyurethane in building are: foam insulation, construction adhesives, wood coatings, etc. By applying a professional-grade polyurethane product on your wood, you’re protecting your wood with what is essentially a highly durable, wear resistant film which will provide water, chemical and wear protection for your wood for a number of years depending on usage and maintenance patterns.
When working with a polyurethane product that isn’t cured (like a wood coating in liquid form), there will be an off-gassing process which will release chemicals in the air, this is why it’s important to choose a low-VOC coating without carcinogens (formaldehyde) or mutagens (N-Methylpyrrolidone), such as (CAUTION: shameless product plug coming up) PolyWhey. Oil based polyurethane products are typically much higher in VOC content, difficult to clean up and flammable, however many waterborne coatings contain the harmful chemicals mentioned above and let’s face it, many of them don’t have the application characteristics of the oil-based finishes (read: they don’t look as nice).
However, the waterborne technologies are improving, and I’m very excited to be introducing PolyWhey to the market for that reason. From the feedback I’ve received from floor refinishers and painters, PolyWhey is the real deal. It flows, levels and builds like an oil-based coating yet it dries quickly, it isn’t toxic (no, don’t drink it) and it won’t catch fire if someone carelessly disposes of the product.
Happy Coating!
Karl Redekopp
Global Access
Global Access
Vermont Natural Coatings is now available at Greenworks Building Supply
Subscribe to:
Posts (Atom)